
After baking fresh bread, pizza, roasted vegetables, or desserts outdoors, your camping oven works hard—and it will definitely show some grease, burnt crumbs, and smoke residue. A proper clean not only keeps your oven looking good but also extends its lifespan, improves heat distribution, and prevents unwanted odors during your next camp cook.
In this guide, we’ll show you a safe, simple, and effective way to clean your camping oven without damaging the metal or coating.
1. Safety First: Let It Cool Completely
Never clean a camping oven while it’s still hot. High temperatures can cause burns, and sudden temperature changes (like pouring cold water on hot metal) may warp or damage the oven body.
Wait at least 30–60 minutes until the surface is cool to the touch.
2. Remove Loose Crumbs and Debris
Start with the easiest step:
- Open the oven door and take out the grill rack / baking tray.
- Use a small brush, dry cloth, or even a twig to wipe away loose crumbs, ash, and food bits.
- Dump debris away from your campsite to keep nature clean.
This step prevents crumbs from turning into sticky burnt grease during cleaning.
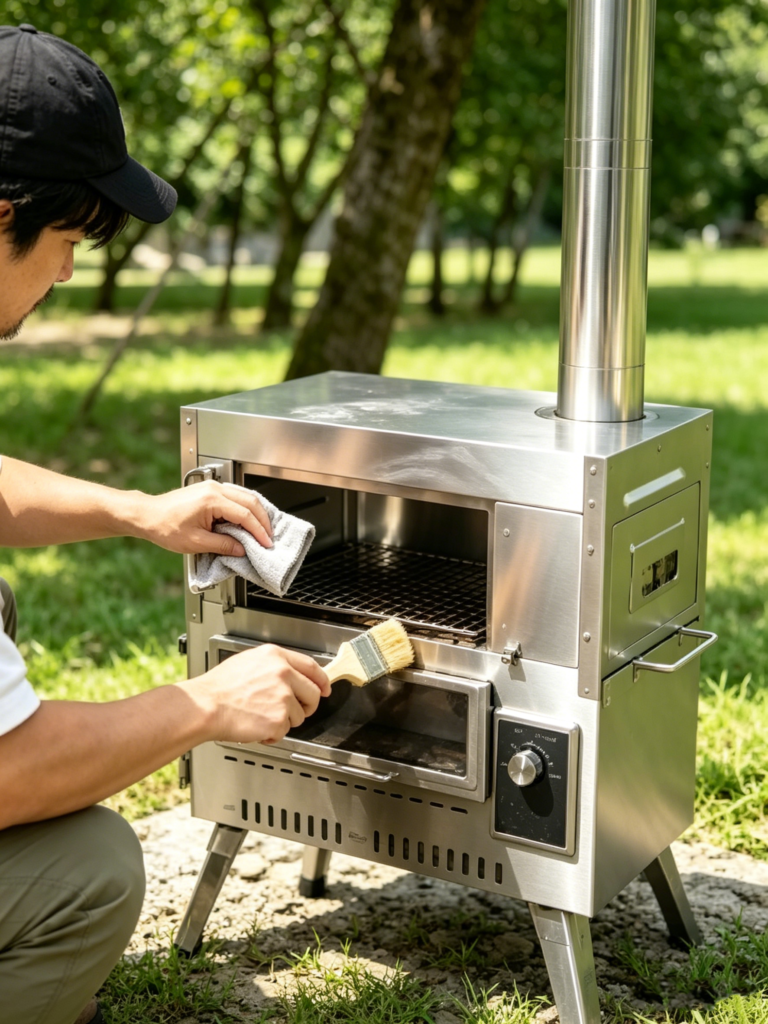
3. Wipe Down the Interior with Warm, Soapy Water
For most light-to-medium grease:
- Prepare warm water with a small amount of mild dish soap.
- Use a soft sponge or microfiber cloth to wipe the inside walls, ceiling, and floor.
- Avoid steel wool or hard brushes that can scratch the metal.
- Pay extra attention to corners where oil and smoke tend to build up.
Most camping ovens are made of heat-resistant steel or aluminum—gentle cleaning is enough.
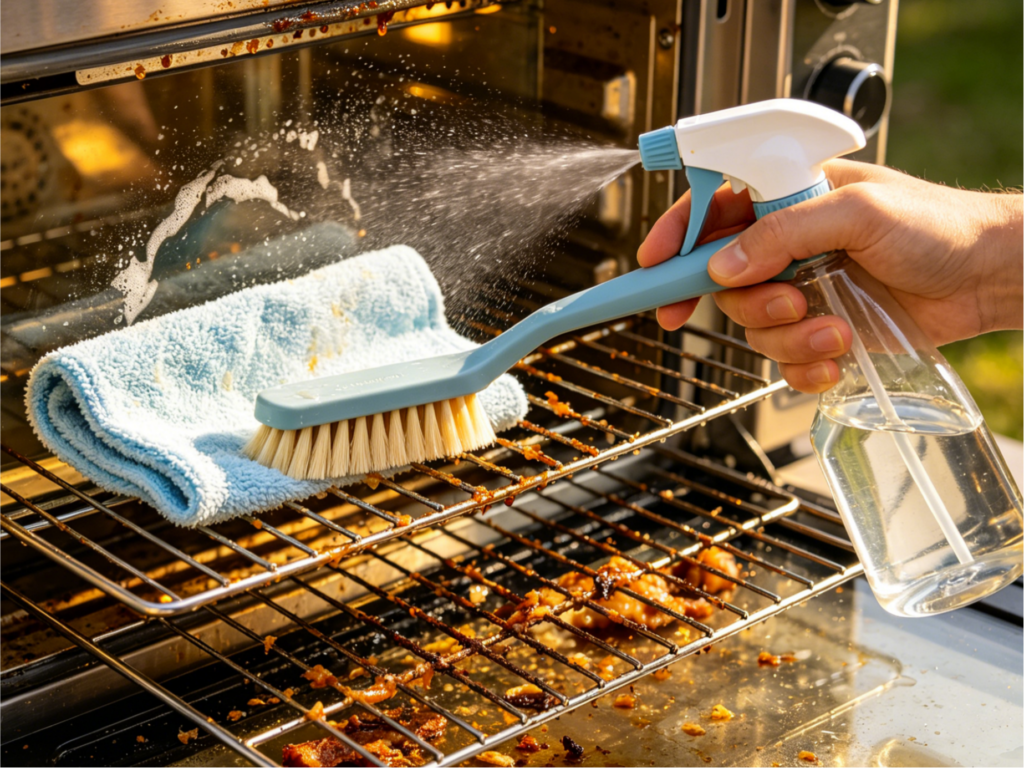
4. Tackle Burnt-on Food and Heavy Grease
If you have baked-on food or thick grease:
- Make a paste using baking soda and a little water.
- Apply it to the stained areas and let it sit for 10–15 minutes.
- Gently scrub with a soft brush or sponge.
- Wipe clean with a damp cloth.
Baking soda is non-toxic, eco-friendly, and safe for both your oven and the outdoors.
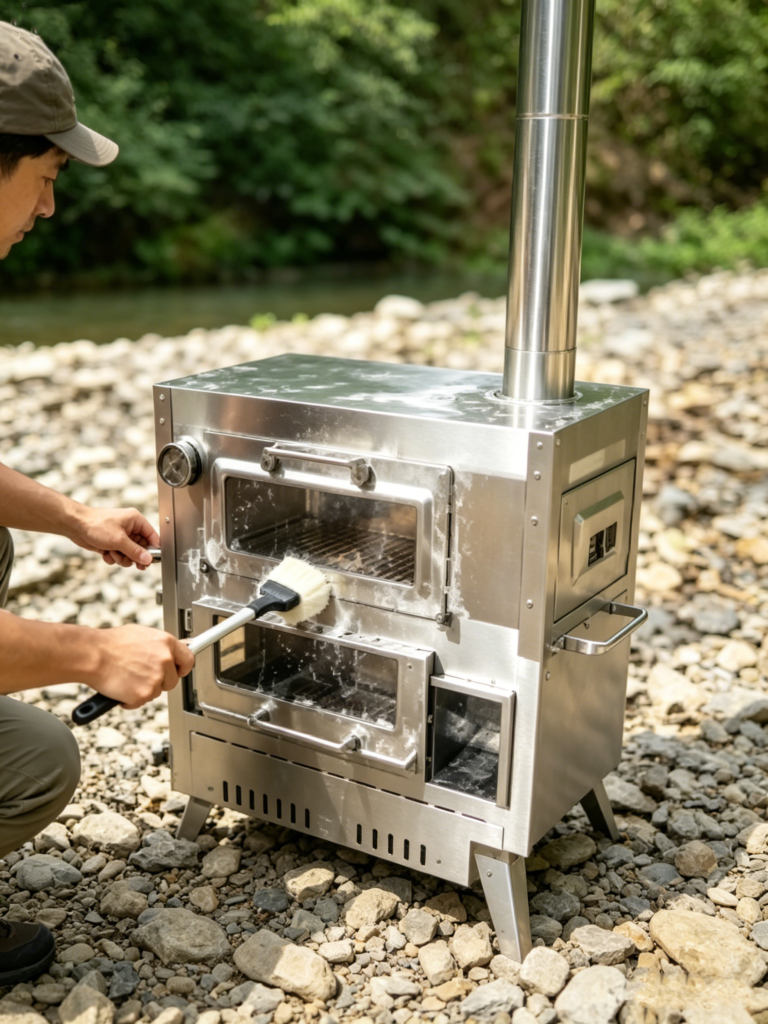
5. Clean the Grill Rack & Baking Tray
Racks and trays get the dirtiest:
- Soak them in warm, soapy water for 10 minutes.
- Scrub off food residue with a brush.
- For rust spots, use a light sanding sponge or steel wool (only on metal surfaces).
- Rinse and dry completely.
6. Dry Thoroughly to Prevent Rust
Moisture is the biggest enemy of outdoor cooking gear.
- Use a dry cloth to wipe all surfaces.
- Leave the oven door open for a while to air dry.
- Store it only when 100% dry.
Keeping it dry prevents rust and extends the life of your camping oven for years.
7. Final Tips for Long-Term Care
- Clean after every use to avoid buildup.
- Do not use harsh chemicals or oven cleaners designed for home kitchens.
- Store in a dry, dust-free bag or container.
- Recheck for rust before your next camping trip.
With regular care, your camping oven will stay reliable and ready for all your outdoor adventures.
Cleaning a camping oven doesn’t have to be difficult or time-consuming. With these simple steps, you can keep your oven clean, odor-free, and in great shape for many camping trips to come.
If you’re looking for durable, easy-to-clean camping ovens, fire pits, or wood burning stoves, explore our collection—designed for outdoor lovers who value quality and convenience.
")
")
")
")
")
")
")